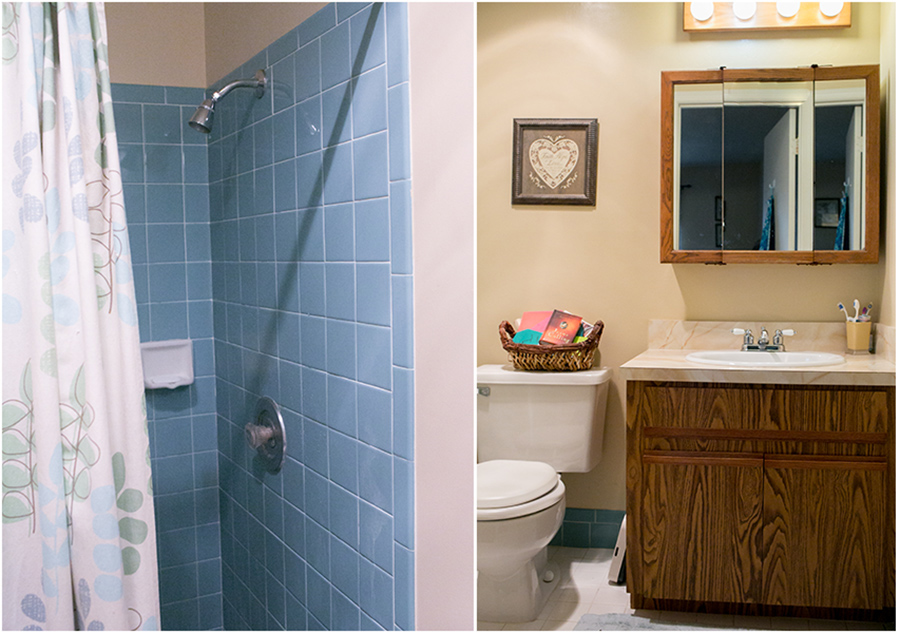
A few weeks ago Luke and I tore up the kids bathroom and redid it.
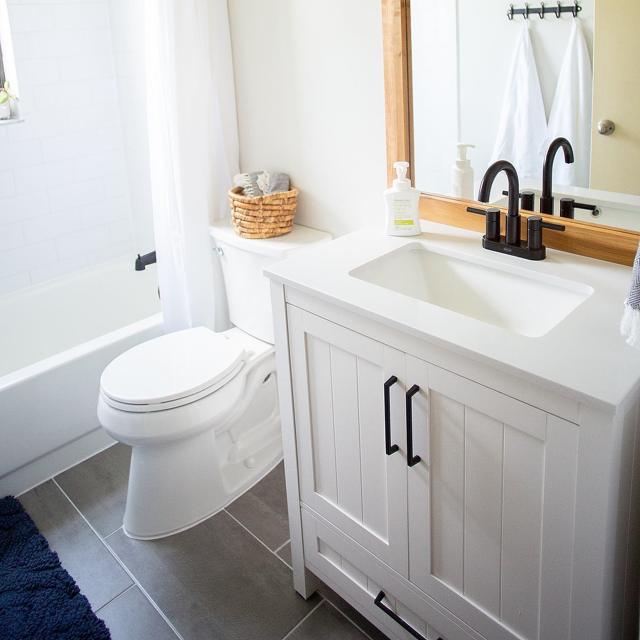
I wanted to share how it turned out. It was a long week… but it felt good to work hard on something together! We tried to choose something clean and bright.. and also easy to clean (let’s be honest here.. it is a kids bathroom).
PS: What and Where…
Tile- Floor and Decor
Vanity- Lowe’s (we went back and forth on making one ourselves but I was too scared the kids would break it after all that work.. so this for $275 (with top and sink) was a winner.
Hooks, TP holder, Curtain Rod, Shower Curtain- IKEA
Towels with the little rings to hang, teal rug- Target
Toilet- Home Depot
Faucets/Shower Trim- Amazon and Lowe’s (we had to combine)
Turkish Towels- Amazon
Basket- Haiti 
Mirror- original mirror.. we just stained wood and framed it in.. $20
Vanity Light- Lowe’s
All the other stuff (backerboard, mortar, etc)- Home Depot
First the before picture of the 80s bathroom…


And the finished product (may still put some artwork over the toilet.. but looking for the perfect thing).